We’ve already built our webpages, populated them with content and styled that content so what gives? Why do we need JavaScript?
28.01.23
First, a quick refresher. I’m going to borrow from an analogy provided in a previous sprint.

HTML, The Builder.
This guy provides the content and holds most our media. Most importantly it provides the framework on which our website is built. This tells the browser where each item sits in relation to each other and how to access it. Without CSS it’ll look pretty bland though.

CSS, The Artist.
Whilst black Verdana text and blue links on a white background is a vibe, to create an original looking website one might use CSS. This can provide custom fonts, colours and position your websites content.

JavaScript, The Wizard.
Now that we have a modern looking website we can add the magic. If you want a modern acting website, Javascript is your new best friend.
JS is the dominant force behind website development. With it you can add smooth animations, pop-up error messages, autofill, or live-update text on screen. Without it, websites like Facebook, Google, and YouTube (amongst "others") wouldn't be possible
Stick ‘em all together and you have the most common method of creating websites in 2023.

Control Flow
Sticking to the Legos metaphor, control flow is like the instructions that come with each set. Just as you start building with bag 1, page 1, a computer generally executes each line of code in sequential order.

Code is run in order from the first line in the file to the last line.
1. Do this first.
2. This second.
3. Then this.
4. Then after that, this.
5. Do 4. Then do this.
Unless the computer runs across the (extremely frequent) structures that change the control flow, such as conditionals or our next topic...
Loops
There are many types of loops in JavaScript, such as do...while or for...of but today we’re going to be focusing on the simple for.

The above building is 15 blocks high. To get to that height we could write the same piece of code 15 times:
1. console.log(“brick”)
2. console.log(“brick”)
3. console.log(“brick”)
4. console.log(“brick”)
5. console.log(“brick”)
6. console.log(“brick”)
7. console.log(“brick”)
8. console.log(“brick”)
9. console.log(“brick”)
10. console.log(“brick”)
11. console.log(“brick”)
12. console.log(“brick”)
13. console.log(“brick”)
14. console.log(“brick”)
15. console.log(“brick”)
Or using much less space we could write a loop that repeats 15 times:
1. for (let i = 0; i < 15; i++) {
2. console.log("brick");
3. }
This statement consists of five distinct pieces:
- A statement, for this tells the computer that a loop is about to follow.
- An initialiser, let i =0; a variable, typically used as a counter for the loop.
- A condition, i < 15; the computer will check if this condition is true at the beginning of each loop and if so, execute the statement. If not, the computer will execute the loop.
- An afterthought, i++ the computer will execute this expression each loop. In this example and generally, this is used to update the counter.
- A statement, console.log(“brick”) this will be done by the machine each time it finds the condition true. Thus printing our 15 rows of bricks needed for our Lego house example.
Loops
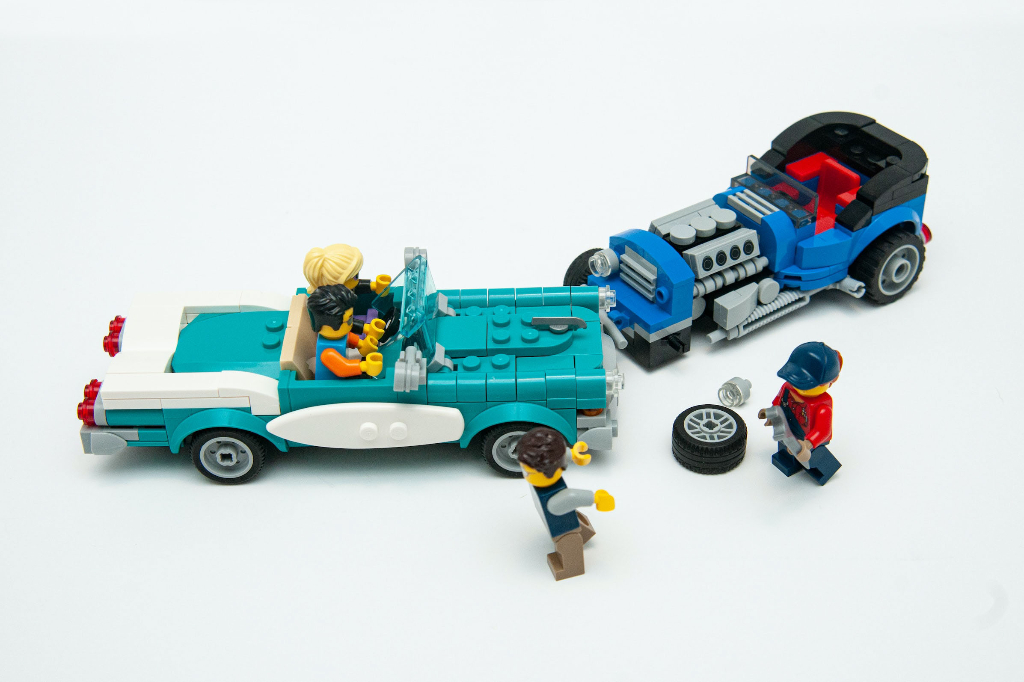
Whilst collecting sets and following the instructions is fun (so long as you can afford it) the great thing about Lego is not doing so might be more fun. By tearing sets apart and remixing the pieces, we can make our car into a boat or a plane. The DOM allows us to target our old set, and replace our driver’s door with a wing, or the roof with a mast and sails. Think of it as a new set of instructions that we deliver to the computer to create our new Ship of Theseus.

The DOM (Document Object Model) allows us to make our HTML document more interactive and dynamic. It is a tree-like representation of web-pages with the document as it’s trunk, branching into body tags, <div> classes and ids and elements such as <h1>, <p>, <ul>, etc. We access these with dot notation, lets look at our HTML car:
1. <div id="paint" style="color: teal;">
2. <div id="engine">engine</div>
3. <div id="doors">
4. <span class="door left">door</span>
5. <span class="door right">door</span>
6. </div>
7. <div id="wheels">
8. <span class="wheel">wheel</h1></span>
9. <span class="wheel">wheel</h1></span>
10. <span class="wheel">wheel</h1></span>
11. <span class="wheel">wheel</h1></span>
12. </div>
13. </div>
As you can see, it has an engine, two doors, four wheels, and all are contained within a nice teal paintjob. Lets start by changing the two doors into a set of wings. For this we will target with .getElementById and .innerHTML eg:
1. document.getElementById('doors').innerHTML = 'wings'
The car has four wheels but most planes only need three. To delete one span we will use .getElementsByClassName, but because there are multiple spans with the same class we will add [0] (remember, computers count starting from 0, not 1) to select the first span:
1. const deleteWheel = document.getElementsByClassName('wheel')[0]
2. deleteWheel.remove()
The car engine will do just fine for a plane but we need to hook it up to a propellor. Lets target the div with the ID of “engine” and add a new class of “propellor”. This time we will need a function and we’ll use .classList and .add:
1. function propeller() {
2. let propeller = document.getElementById('engine')
3. propeller.classList.add('propeller')
4. }
Finally, to give it some extra thrust lets give the whole thing a new paint job. Everybody knows red goes faster so lets use another function, this time with .style to target the inline div style and .color for the property:
1. function repaint() {
2. let repaint = document.getElementById('paint')
3. repaint.style.color = 'red'
4. }
Finally, we have to initialise our functions with the next piece of code added to the top:
1. document.addEventListener('DOMContentLoaded', start)
2.
3. function start() {
4. propeller()
5. repaint()
6. }
We’ll go into more detail about functions later, but for now if anything wasn’t clear feel free to find the finished website here.
Can’t find the propeller? Try inspecting the engine a little closer.

Objects
Objects are used to represent a “thing” in your code. They are made up of a name, keys and values. In our previous example we could have stored our car as an object, with color, engine, doors, and wheels as it’s keys, and their properties as it’s values. Like so:
1. let car = {
2.
3. color: "teal",
4. engine: true,
5. doors: 2,
6. wheels: 4
7. }
Properties in objects can be accessed, added, changed, and removed by using either dot or bracket notation. To get the value of the color and engine keys in our car object we can write:
1. // Dot notation
2. car.color
3. car.engine
4. // returns “teal” and true
OR
1. //Bracket notation
2. car['color']
3. car['engine']
4. // returns “teal” and true
If we wanted to upgrade from a coupe to a sedan we could write:
1. car.doors = 4;
If we wanted to pimp our ride, we could use dot notation and add an array:
1. car.upgrades = ['spoiler', 'spinners', 'NOS'];
Finally, to remove a property from an object, we use the delete keyword.
Maybe our Lego car has broken down and we need to remove the engine all together:
1. delete car.engine;
Arrays
Hinted at above, we use arrays whenever we want to store lists of items in a single variable. Let’s create a shopping list of Lego sets we’re saving up for:
1. let louisShoppingList = ['Millennium Falcon: 75192', 'Ghostbusters ECTO-1: 10274', 'Space Shuttle: 10283'];
To access our array and check our shopping list we use square bracket notation and again, count from 0, not 1:
1. louisShoppingList[1];
2. // returns 'Ghostbusters ECTO-1: 10274'
Items can be added and removed from various positions with methods like, push(), pop(), unshift(), and shift(). Our budget has decreased, lets remove the most expensive set and add a cheaper one to the end of the list:
1. //shift() - Removes the first item from an array
2. louisShoppingList.shift();
3.
4. // push() - Adds item(s) to the end of an array
5. louisShoppingList.push('1989 Batmobile: 76139');
We’re ready for our trip to toy world.
Functions
A function is the fundamental building block of a JavaScript application. It is one of the most essential concepts in the language. A Lego set is cool and all, but once they’re built, they frequently collect dust on a shelf. What if we could make them move?

A simple machine takes an input, does something to it and gives an output. When you add a motor to our Lego car it can leave the shelf and drive about the room. Input from a remot control car is converted into directions for the wheels to move. That’s exactly what functions do as well.
We use a function when we want to re-use a piece of code throughout the rest of our JS file. Let’s toot the horn.
1. function horn() {
2. return'toot toot';
3. }
4.
5. horn();
6.
7. //returns “toot toot”
So, what have we done here?
- We started with the function keyword. This is how we declare a function.
- Then, we defined a function name, which is horn. We can use this to call it later.
- Then, we added parenthesis (). We use parenthesis to add parameters which we’ll explore later.
- Then, we used curly braces {} to create a function body. This is the code that will be executed when we run this function.
- To use this function, we simply write the function name followed by parenthesis horn(). A process referred to as “calling" the function.
We can use this function again and again throughout our program whenever we need to reprimand Lego BMW drivers for not giving way.

I’m often asked my opinion on a particular Lego set, but my answer rarely changes. Here’s how I could write it without a function.
1. const opinion = “that’s a pretty cool set!”
But I would have to write my opinion every time someone asked. Let's write this using a function instead.
1. function opinion(legoSet) {
2. return legoSet + “ is pretty cool!”;
3. }
4.
5. const firstSet = opinion(“Millennium Falcon”);
6. // Returns “Millennium Falcon is pretty cool!”
As you can see, we have written more code in the second example, but it would be useful to write a cleaner code when we want to ask about every single Lego set. Check the below example.
1. const firstSet = opinion(“Imperial Star Destroyer”);
2. // Returns “Imperial Star Destroyer is pretty cool”
3. const secondSet = opinion(“AT-AT walker”);
4. // Returns “AT-AT walker is pretty cool”
5. const thirdSet = opinion(“The Razor Crest”);
6. // Returns “The Razor Crest is pretty cool”
So much time saved!
If you found any of this useful, feel free to send me a tip.
